Make a Portable Root Cellar….On The Cheap!
If you have a home with a yard and are in the northern part of the US where it gets cold and snowy…did you know that you can make your own “Root Cellar” without digging holes or spending thousands of dollars for storage space?…heres’ what we do, it doesn’t take much time, and you don’t have to use as many bales as we do if you aren’t storing as much…We store 100#’s of Apples, Onions, Potatoes and Carrots for the winter, so we need lots of space…you just one of these bins will store quite a bit of food though the winter. Our fruits and vegetables will last from October through to April…

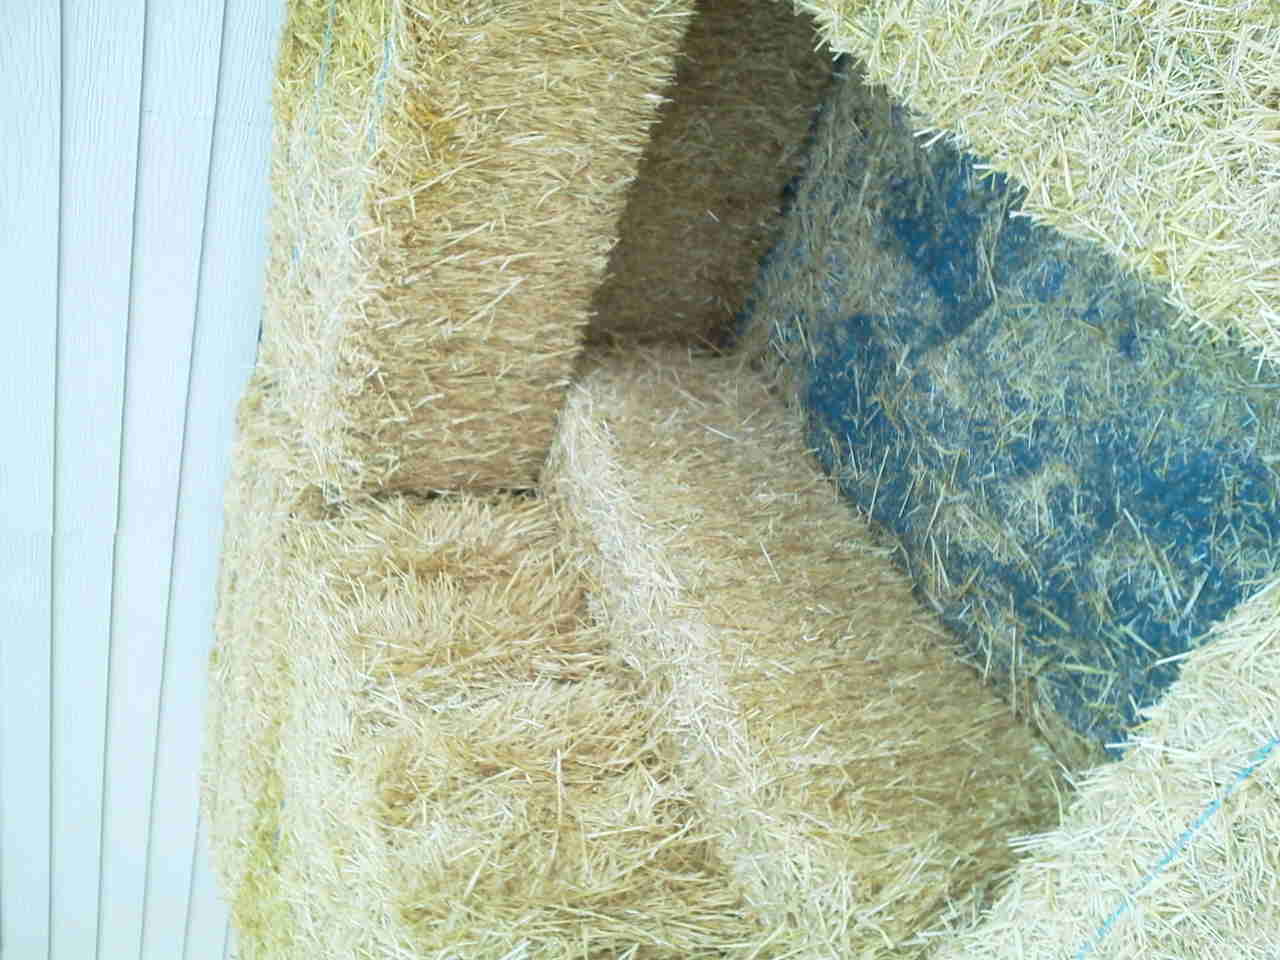
So the first thing is to put down a moisture barrier so we used a good thick Tarp available at HomeDepot, Lowes or even the Dollar Store…As you can see we put four bales of straw per bin…if you are using multiple bins just build on the first bin..you can see how it’s laid out…and you want to make sure that your boxes of vegetables will fit into the bins that the bales make up, so I usually put the boxes in while I’m building just to make sure I don’t sell myself short…

Once you have the base done..you just put more straw bales on top like a lid!…it insulates from the cold keeping the temperature more like a refrigerator!…after I’m done putting the bales on the top of the bins, I cover everything with another tarp to keep the snow and rain out.

So, what do you do in the spring when you don’t need the storage any more?…did you know that you can use Straw bales as a raised garden?…After you’ve located the straw bales where you want your garden…put your vegetables and fruits into the top of the bales and put a drip line right next to the plants. The Straw bales will soak up the moisture and your plants will thrive…after the gardening season, bust the bale open and put into your compost!…easy-peasy!…